
Booting Backtrack 4 from USB
Backtrack has been discontinued and replaced by Kali Linux. This content is preserved for historical reference only.
Once we have finished installing BT4 onto our USB flashdrive, it’s time to boot it onto our laptop. I prefer booting it on a laptop because the laptop usually already has a wifi card that we can use. And since this is the latest version of Backtrack, it should work right out of the box.
Boot Steps
- Shut down your laptop
- Plug in your USB flashdrive
- Turn on your computer and enter BIOS (you usually need to enter BIOS before the Windows logo appears or whatever operating system logo appears)
Entering BIOS
Press either F1, F2, DEL, ESC, or F10 (On my computer it says F2 for boot options)
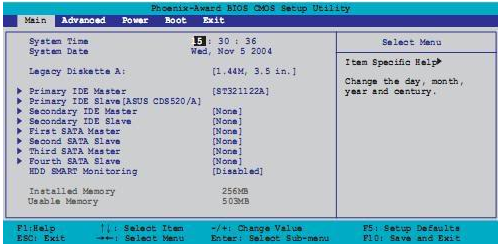
- In BIOS, you want to change your boot options to load the USB flashdrive before your harddisk
- Exit BIOS with the save changes option and your computer will reboot again
- Once your computer reboots, the Backtrack boot option should appear
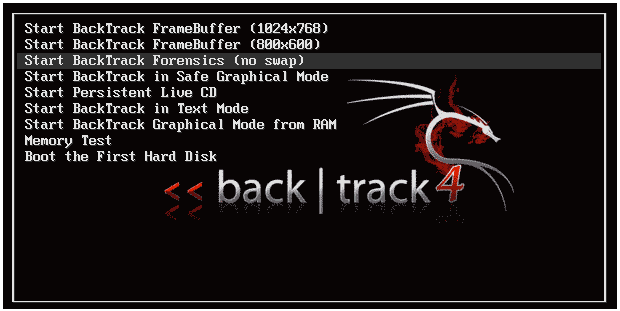
You just want to press enter to select the default option.
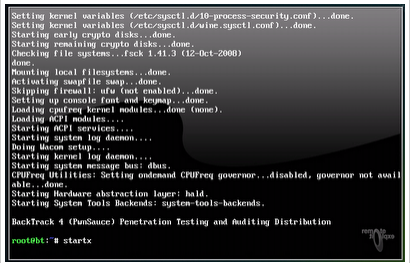
- When Backtrack finishes loading everything, you are going to have a command line. You want to type in
startx(without the quotes) to enter the graphical desktop mode.
In earlier versions of Backtrack, the username was “root” and the password was “toor”.
You have just finished booting BT4 R2 and your desktop screen should look like this:
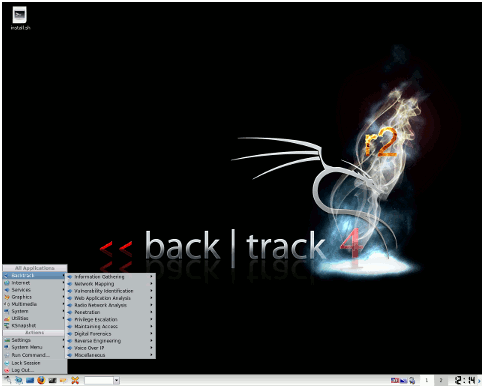
Why don’t you look through all the security tools that Backtrack has to offer. In my future blogs, I will only cover some of the security tools because there is just too much to go through.
If you have any questions or comments about this, comment on the bottom and I will answer as soon as possible.